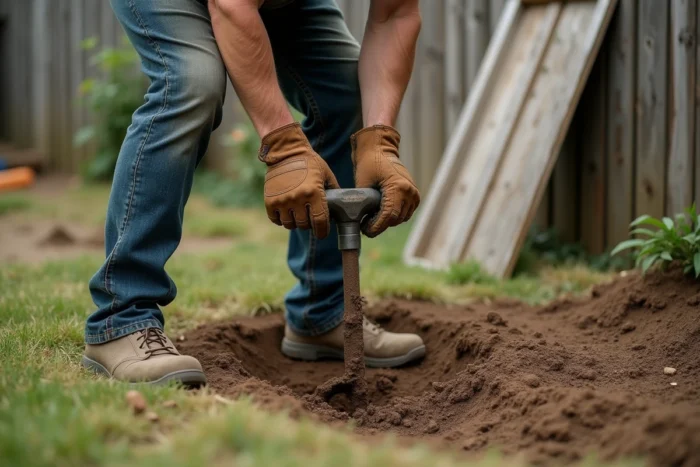
A leaning post after the first winter, a fence that warps in the wind: the problem rarely comes from the post itself, but from the hole that holds it. A diameter that is too tight, a poorly prepared base, insufficient depth on shifting soil, mistakes can cost you within a few months. Digging a hole for a fence post seems simple, but the quality of that hole determines the lifespan of the entire installation.
Clay Soil and Post Holes: The Trap That the One-Third Rule Doesn’t Cover
Have you ever noticed posts that shift or lean slightly after two or three seasons? On sandy or limestone soil, the classic rule (bury one-third of the post height) works well. On clay soil, it is not enough.
Clay expands when it absorbs water and then contracts as it dries. This seasonal movement exerts lateral and vertical pressure on the post. Construction professionals recommend digging significantly deeper in this type of terrain to place the base of the post below the most active swelling zone.
Specifically, if you are installing a post in clay soil, dig deeper than the usual one-third and add a layer of gravel at the bottom. The gravel ensures drainage under the post and limits water stagnation in contact with wood or metal. A good guide for digging holes for fence posts details the necessary adjustments based on soil type.
To identify your soil, take a handful of moist earth and roll it between your fingers. If it forms a smooth, shiny sausage, it’s clay. If it crumbles, you are on sand or silt, and the one-third rule remains reliable.
Hole Diameter and Bracing Space: Two Often Overlooked Parameters
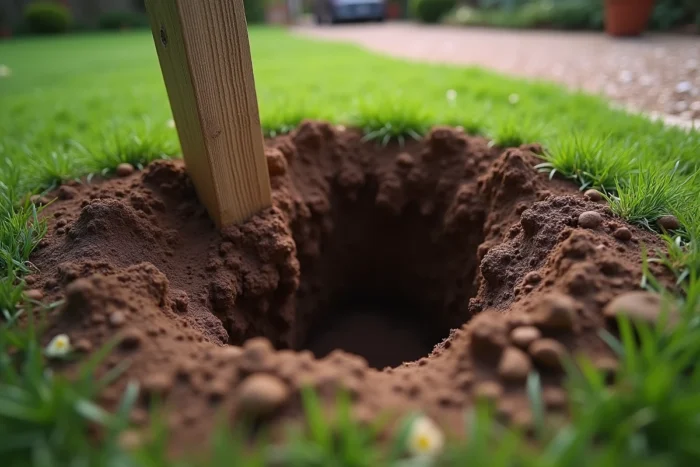
We think about depth, but rarely about diameter. A hole that is too narrow prevents proper work around the post. A hole that is too wide wastes concrete and weakens the bracing.
The diameter of the hole should be about three times that of the post. For a round post of standard section, this results in a hole significantly wider than one might imagine at first shovel stroke. This space allows for pouring concrete (or compacting gravel) evenly all around.
Why the Walls of the Hole Matter as Much as the Bottom
A detail that few DIYers check: the condition of the walls. A hole dug with a shovel in moist soil can have smooth, almost glazed walls. Concrete adheres poorly to this surface. Scrape the walls with the edge of the shovel or a digging bar before pouring anything.
Similarly, a domed hole bottom causes the post to tilt as soon as it is placed. Level the bottom with a tamper or a piece of lumber to achieve a stable base before setting it in place.
Manual Auger, Thermal Auger, or Mini-Excavator: Choose According to the Terrain
The shovel and digging bar remain the basic tools, but on a project with more than five or six posts, the time saved by using an auger changes the game.
- The manual auger is suitable for loose soils and small projects (three to five holes). It requires sustained physical effort, especially beyond 40 cm in depth.
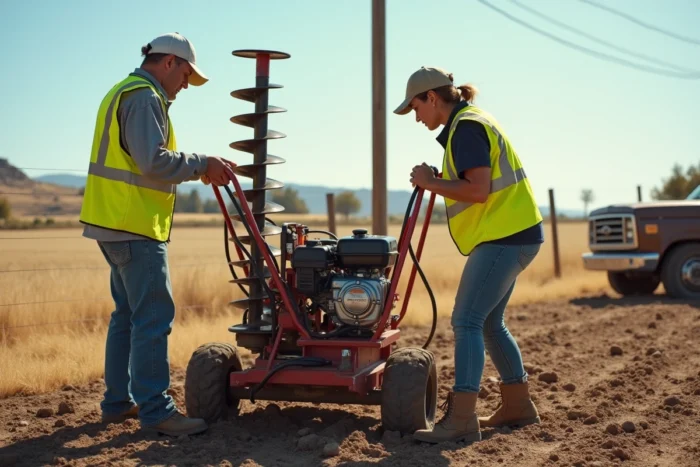
- The thermal auger drills through compact, stony, or root-filled soils in just a few seconds per hole. It can be rented by the day and is suitable for most residential fencing projects.
- Mini-excavators (models around one ton, with a narrow access width) are increasingly used for fences in residential areas. They can fit through a gate or narrow passage and dig regular holes effortlessly. Rental remains affordable for a one-day project.
Whatever the tool, keep a visible depth marker. A piece of tape wrapped around the auger bit or on the handle of the shovel, at the desired height, avoids having to check with a tape measure for each hole.
Alignment of Holes: The String Line Method and Its Limits
Stretching a string line between two end stakes is the foundation. But the string line only guarantees horizontal alignment. It says nothing about regular spacing or the verticality of each hole.
Spacing and Ground Marking
Before digging, mark each location on the ground with a stake or a construction spray paint. Measure from the center of the previous hole, not from the edge. This habit prevents cumulative shifts along a long fence line.
Check the verticality of the post with a level on two sides before securing the bracing. A post tilted by one or two degrees is barely noticeable on site, but becomes glaring once the panels or fencing are installed.
Sloped Terrain: Adjust Depth, Not Angle
On sloped terrain, each post remains vertical. It is the depth that varies from hole to hole to compensate for the slope. Digging all holes at the same depth on a slope results in posts of visibly uneven heights, ruining the aesthetics of the fence.
On a slope, mark the desired level line at the top of the posts, then calculate the depth of each hole individually. Take the time for this step: correcting a misaligned hole on a slope takes twice as much work as digging it correctly from the start.
The last point to keep in mind concerns timing. Digging in dry weather makes the work easier and provides more stable walls. In clay soil, a hole dug after heavy rain quickly deforms and retains water at the bottom, complicating the setting. If the weather forces you to work on wet soil, plan to have a bucket to bail out the bottom before setting the post.