
The fuel tap is a simple mechanical part, but its failure can cause fuel leaks, power outages, or unstable idling. On carbureted vehicles (motorcycles, scooters, classic cars), this component remains a common maintenance point that deserves a methodical intervention rather than a blind replacement.
Membrane, O-ring, and spring: the parts that fail first
Before disassembling anything, understanding what breaks helps to make the right diagnosis. A vacuum tap works thanks to a flexible membrane activated by the engine’s vacuum. When the engine is running, the vacuum opens the membrane and allows fuel to flow. When stopped, the membrane closes and cuts off the supply.
The membrane is the first part to degrade. Over time, it hardens, cracks, or deforms, which either causes a permanent leak or insufficient flow. The return spring that keeps the membrane closed can also lose its tension.
The O-rings located between the tap and the tank are another weak point. A flattened or cracked O-ring allows fuel to seep at the connection. Before replacing the entire tap, checking the condition of these parts can sometimes resolve the issue with a simple repair kit. To change a fuel tap properly, this preliminary diagnostic step avoids buying an unnecessary part.
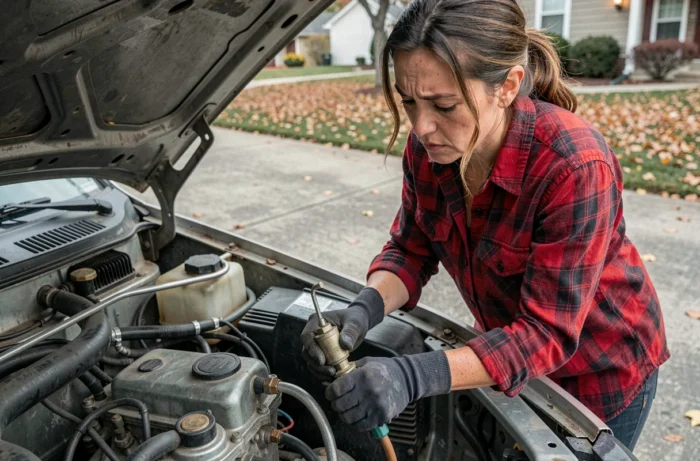
E10 fuel compatibility and degradation of fuel seals
A rarely discussed angle in replacement tutorials concerns the type of fuel used. E10 weakens certain seals, hoses, and membranes on classic motorcycles and carbureted vehicles. The symptoms are concrete: softened hoses, unstable idling, leaks after prolonged storage.
The problem comes from the ethanol contained in E10, which attacks elastomers not designed for this mixture. If the original tap dates from before the widespread use of E10, its internal seals are likely not compatible. Replacing the tap with an identical model without checking material compatibility amounts to postponing the problem by a few months.
When purchasing a new tap or a seal kit, prioritize parts made of Viton or nitrile rubber resistant to ethanol mixtures. This precaution also applies to the connecting hoses between the tap and the carburetor.
Fuel tap replacement: step by step method
The actual replacement takes only a few minutes on most setups. The difficulty mainly lies in managing the residual fuel in the tank.
Preparation before disassembly
Shut off the fuel supply if the tap still has a closed position. On a failing vacuum tap, this option does not always exist. In this case, pinching the supply hose with a pair of pliers (without squeezing too hard to avoid crushing the rubber) prevents fuel from flowing during the intervention.
Prepare a container under the tap and absorbent cloths. The fuel remaining in the hose and the body of the tap will flow out during disassembly.
Disassembly and installation of the new tap
- Disconnect the fuel hose from the carburetor side, then from the tap side. On some models, a vacuum hose connects the tap to the intake manifold: identify it before disconnecting everything.
- Unscrew the fixing screws of the tap on the tank. For central nut fixings, hold the tap with one hand while unscrewing to prevent the seal from turning and scratching the tank.
- Clean the contact surface on the tank with a clean cloth. Any residue from the old seal compromises the sealing of the new assembly.
- Position the new seal on the new tap, screw it in by hand first, then tighten moderately. Excessive tightening deforms the seal and creates a paradoxical leak.
- Reconnect the hoses, respecting the original circuit (main supply, reserve if applicable, vacuum).
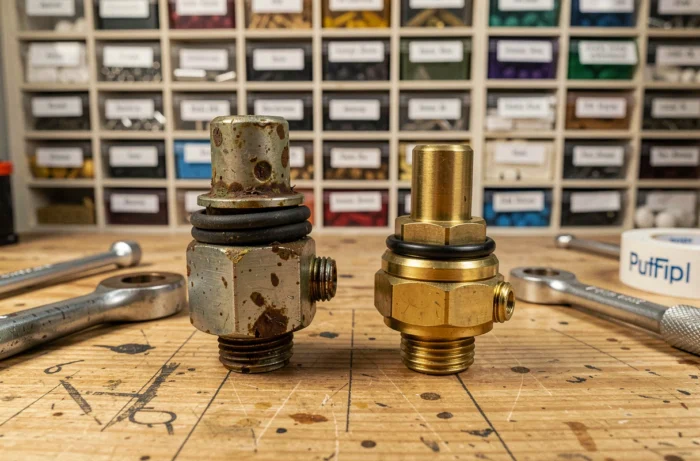
Fuel leak after installation: common causes and technical check
A leak that appears just after replacing the tap almost always indicates a mounting problem. The most common cause is a seal that is misaligned or pinched during tightening. Disassembling, repositioning the seal, and re-screwing resolves the issue in most cases.
Another source of leaks: a split or deformed hose reinstalled without verification. The hose clamps also deserve a check. A rusty or loose clamp no longer holds the hose against the tap fitting.
Consequences at the technical inspection
The stakes go beyond simple mechanical comfort. A fuel leak constitutes a critical failure at the technical inspection, leading to the immobilization of the vehicle until repaired. On classic vehicles subject to inspection, a leaking tap or a porous hose is enough to trigger a re-inspection.
Testing for leaks after installation is simple: wipe the tap and its fittings, open the supply, then observe for a few minutes with the engine off, then with the engine running. A leak invisible at rest may appear under vacuum when the engine is running.
The choice of replacement tap, checking the compatibility of the seals with the fuel used, and a measured tightening during installation form the three points that separate a durable repair from an intervention to redo in six months.