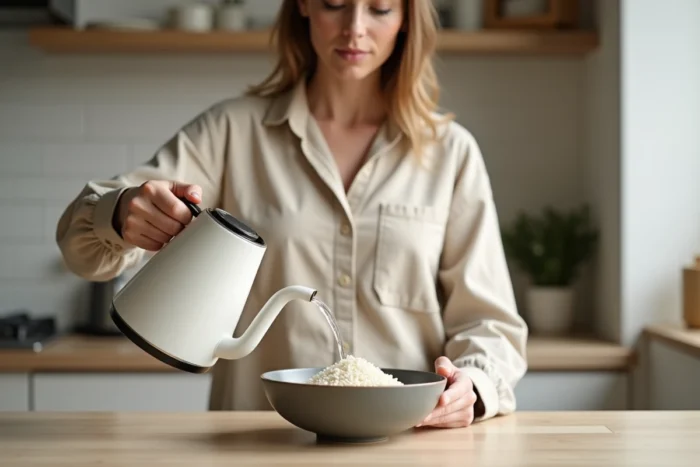
Cooking rice in an electric kettle requires adapting to a device that automatically shuts off once boiling. The result depends less on the recipe itself than on managing the heating cycles and the water-to-rice ratio, two parameters that differ significantly from traditional pot cooking. Here’s what the technical data reveals about this method, and how to achieve properly cooked grains.
Water-to-rice ratio: kettle vs. pot
The starting point for any rice cooking is the amount of water. The electric kettle requires a more generous ratio than the pot, for a simple reason: evaporation is irregular, and the thermostat’s automatic shut-offs interrupt the heat transfer.
| Parameter | Pot (stove or hot plate) | Electric kettle |
|---|---|---|
| Water/rice ratio (volumes) | 1.5 to 2 to 1 | About 2 to 1 |
| Boiling | Continuous, controllable | Interrupted by the thermostat |
| Required cycles | 1 only | 3 to 5 successive cycles |
| Rest time with lid closed | Few minutes | About 10 minutes after the last cycle |
| Texture control | Precise (heat intensity) | Limited (on/off) |
The excess water compensates for the losses due to the repeated thermostat shut-offs. With a ratio that is too tight (1 to 1.5 for example), the grains remain hard in the center because there isn’t enough water before cooking is complete.
For those who want to prepare rice with a kettle regularly, this 2-to-1 water-to-rice ratio is the most reliable guideline.

Boiling cycles and thermostat: the technical constraint to master
The majority of modern kettles use a heating element hidden under a stainless steel plate. As soon as the water reaches boiling point, the thermostat cuts off the power. This mechanism, designed to heat water and not to cook food, makes continuous rice cooking impossible.
The solution is to cook the rice through 3 to 5 successive boiling cycles. In practice, each cycle brings the water to a boil, the thermostat cuts off, and then you manually restart the kettle once it has cooled slightly. Between each cycle, the grains absorb water and gradually soften.
Why residual heat does the job
After the last cycle, the kettle retains a high temperature for several minutes. A 10-minute rest with the lid closed finishes the cooking without additional energy input. This rest is longer than in a pot because residual heat decreases more quickly in a kettle (thin walls, no flame underneath).
Skipping this resting step results in rice that is undercooked in the center. This is the most common mistake: checking the grains right after the last cycle and concluding that the method doesn’t work.
Rinsing and type of rice: adapting the method to the grain
Not all rice reacts the same way to interrupted boiling cycles. Pre-rinsing and the choice of grain significantly change the final result.
- Rinse the rice until the water runs clear to remove excess surface starch. Without this rinsing, the grains stick together and form a compact mass at the bottom of the kettle, making cleaning more difficult.
- Long-grain rice (basmati, Thai) yields the best results in a kettle. Its low starch content limits the risk of a mushy texture despite the excess water.
- Short-grain rice (arborio, sushi rice) absorbs more water and sticks more easily. In a kettle, it requires closer monitoring and a slightly reduced water ratio compared to long grain.
- Soaking the rice in cold water for about fifteen minutes before cooking reduces the number of cycles needed, as the grains are already partially hydrated from the start.

Kettle results: texture and real limits
Cooking in a kettle produces edible and properly hydrated rice when the ratio, cycles, and resting time are respected. However, the texture remains inferior compared to cooking in a pot or a dedicated rice cooker.
The texture achieved is uniform but rarely fluffy. The lack of control over heat intensity prevents fine adjustments in cooking. The grains tend to be slightly softer on the surface and a bit firmer in the center, a gap that the resting time mitigates but does not completely eliminate.
What the kettle does not replace
Preparing rice in a kettle is suitable for specific situations: hotel room, office, student housing without a stove. For daily cooking, a small rice cooker (which automatically manages temperature and switches to keep warm mode) offers a significantly superior result for a comparable footprint.
The kettle is an effective stopgap, not a permanent substitute. Its real advantage lies in the speed of implementation and the absence of additional equipment.
Cleaning after cooking
Residual starch deposits on the heating element and the internal walls. Filling the kettle with water and a splash of white vinegar, bringing it to a boil, and then letting it cool is enough to loosen the deposits. Cleaning the kettle immediately after each rice cooking prevents the accumulation of starchy scale, which is harder to remove once dry.
Cooking rice in a kettle relies on three variables: a more generous water ratio than in a pot, several manually restarted boiling cycles, and a final resting time of about ten minutes under the lid. Long grain is better suited than short grain. Rinsing is not optional. And the kettle, after use, should be cleaned with vinegar before the starch hardens.